How to take a screenshot with GIMP?
April 5, 2015
During the past week a developer friend and I were talking about blogs and all. We discussed about the simplicity of posts and I realized he was right, that sometimes simple things that we write are actually highly sought. That same day another friend asked me how to take a screenshot on the modified Debian desktop he was using as he could not achieve it using the Print Screen (PrtSc) button. Using GIMP one can achieve the trick across all operating systems the same way.
How to take a screenshot with GIMP?
Open GIMP, navigate to File > Create > Screenshot, as displayed in the image below.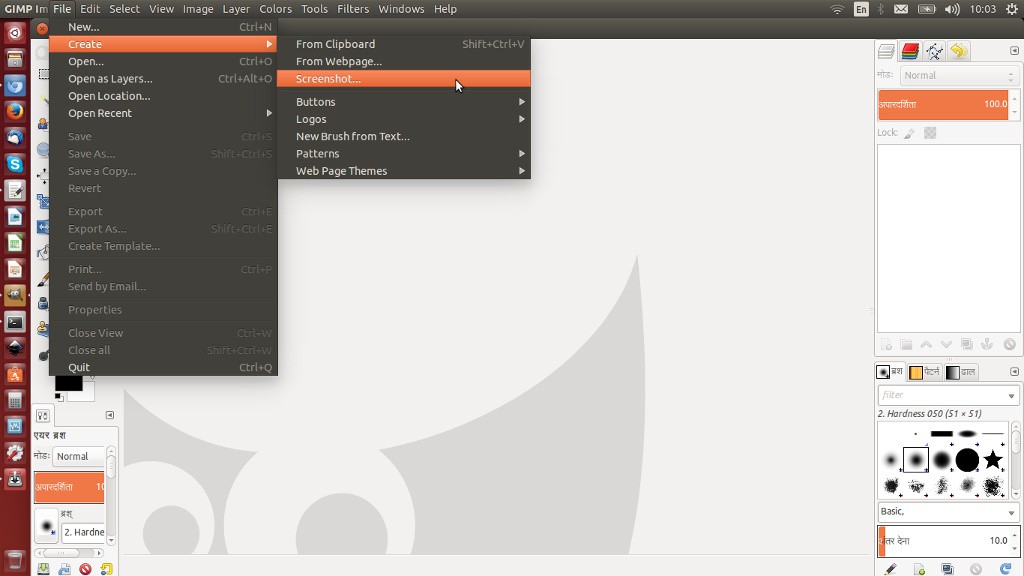
A dialog box will appear with several options that you can use to customize the way to capture the screen. You can capture only a specific window (with or without the window border decoration), you can capture fullscreen (with or without the mouse pointer) and you can specify a delay before taking the capture.
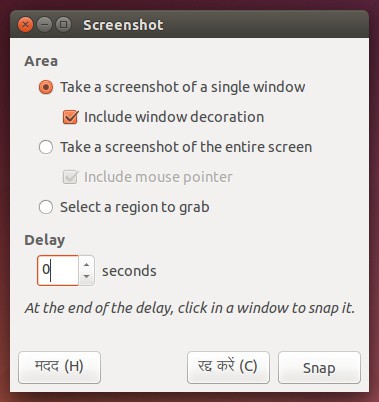
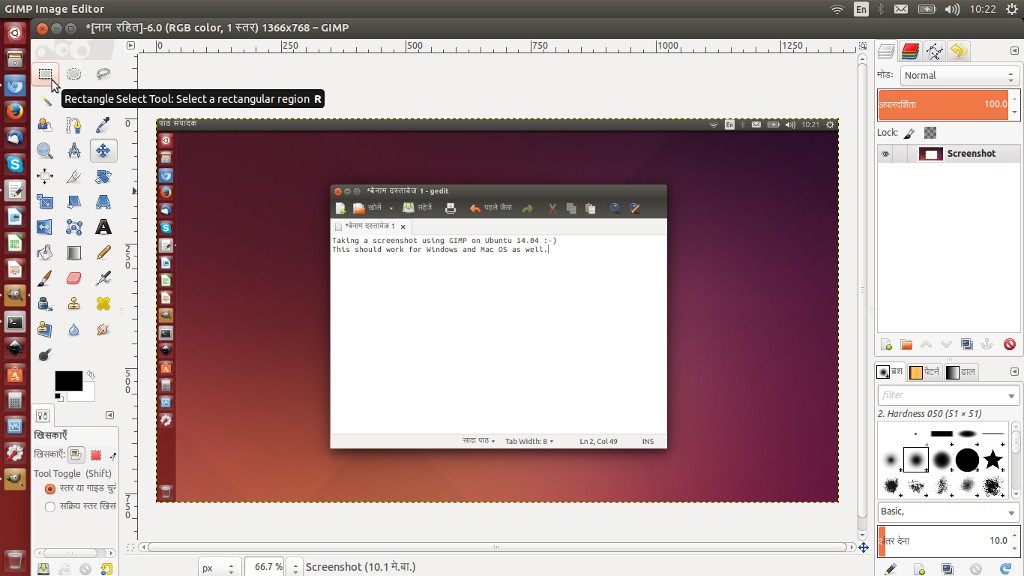
The delay part becomes handy as it allows one to prepare the window that needs to be captured. However, even if you have captured a whole screen but you need only part of it, it’s pretty easy in GIMP to select and edit. From the left toolbox, click on the Rectangle Select Tool, then select a portion of the captured screen.
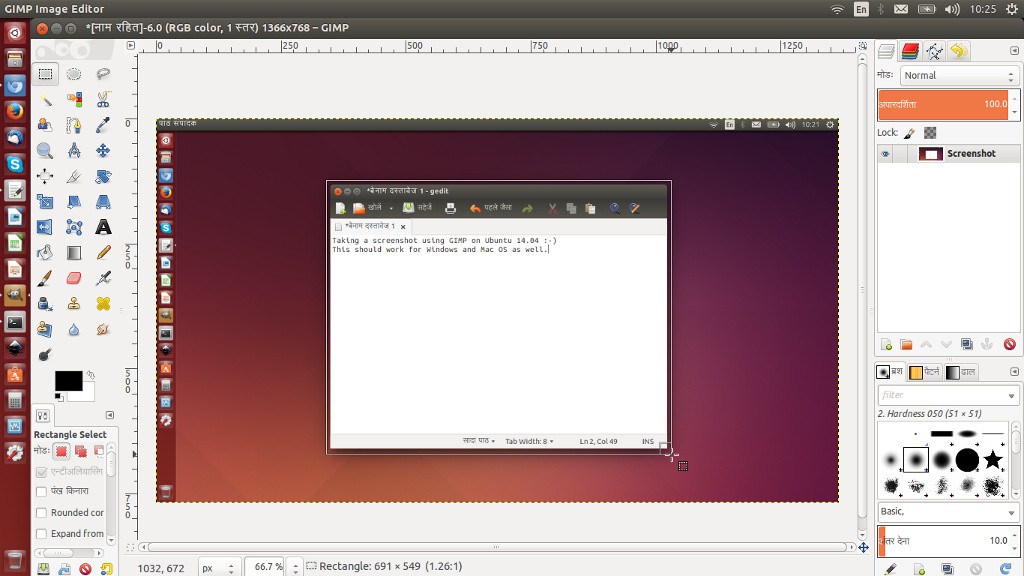
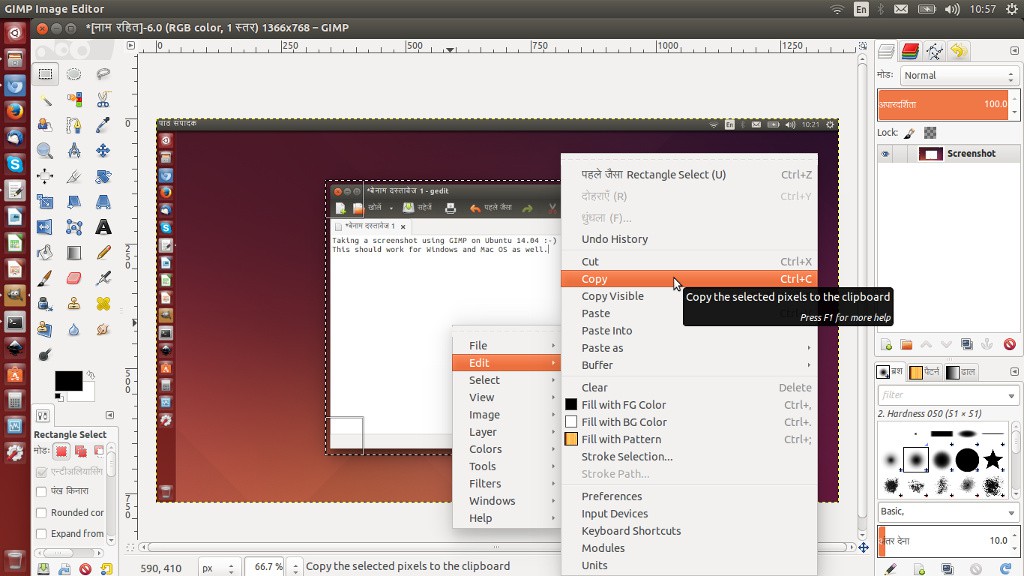
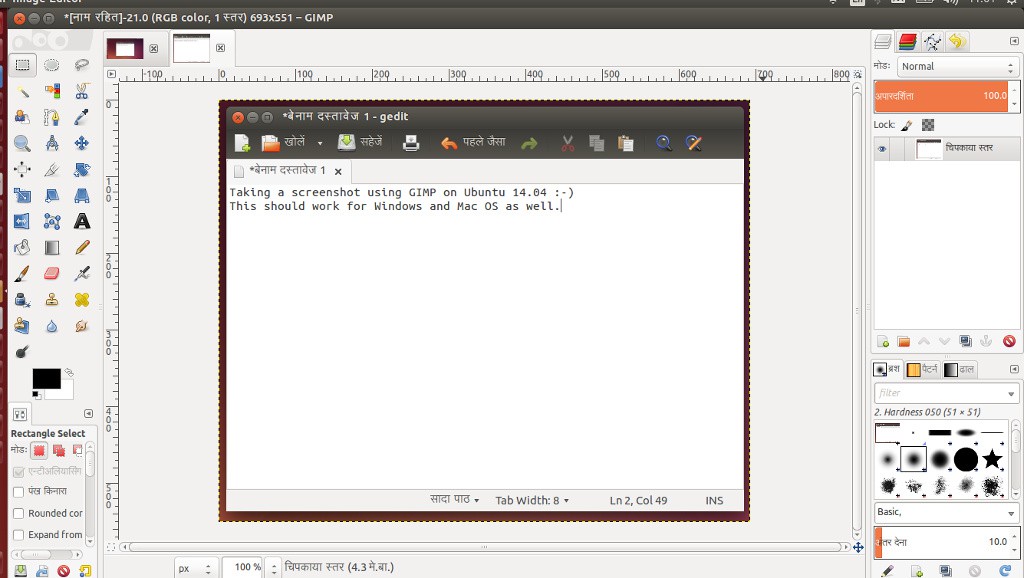
Then, right-click and do Edit > Paste as > New image.
That should be all, happy GIMP’ing :-)